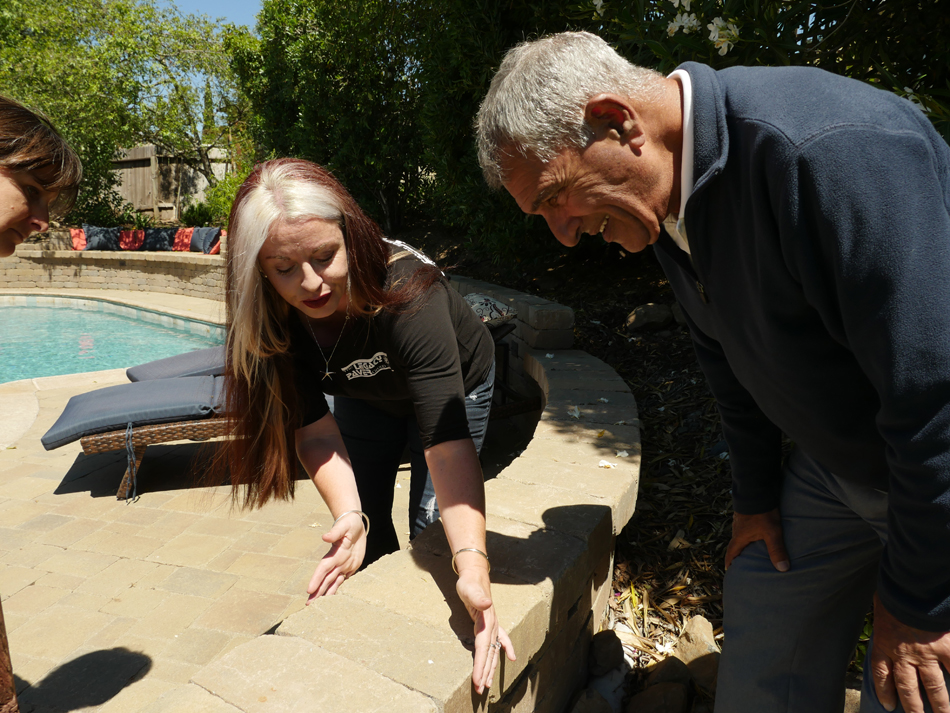
Due to their many practical advantages, paving stones have become a popular choice for hardscape construction. Photo: The Legacy Paver Group (2017)
One of the biggest trends in hardscaping is the use of paving stones to build features like patios, driveways and walkways. Unlike a single, uniform concrete slab, a paving stone installation is assembled mosaic-style with multiple small stones or “pavers.” This method of hardscape construction offers several advantages over that of poured concrete, from a wider variety of design options to a more resilient final product. To learn more, we’ve asked six Diamond Certified Expert Contributors to take us through the consecutive phases of paving stone installation.
Phase 1: Design and Product Selection
Perhaps the most influential factor behind the popularity of paving stones is the expansive range of design possibilities. Available in myriad colors and styles, paving stones can be custom-arranged to create unique and artistic designs. However, as Stan Jonah of The Legacy Paver Group points out, this creative impulse should be tempered by a consideration for the attributes of your home and property. “When designing a paver project, make sure it reflects your home’s architectural style and surrounding environment—otherwise, it may end up looking out of place,” he explains. “For example, if you install a modern-looking driveway at your Victorian-style home, the result could be aesthetically dissonant.” Fortunately, Mr. Jonah says the paver industry has matured to the point where there are now pavers available for virtually any style of home, even 100-year-old Victorians.
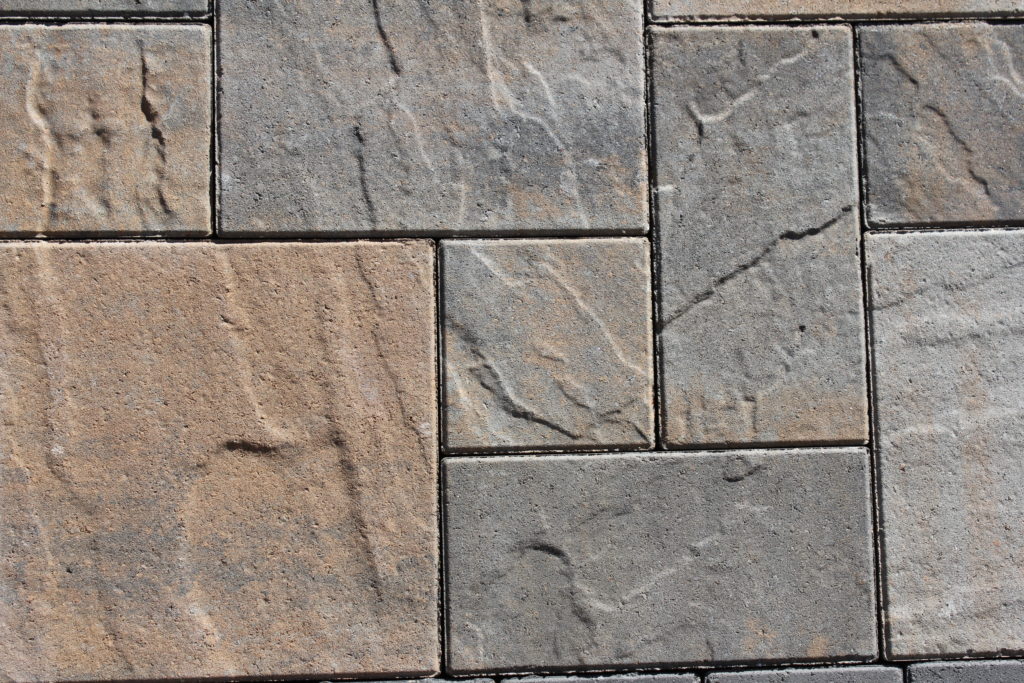
In addition to design, you’ll need to make some choices regarding product selection. Jay Magstadt of CastleLite Block, LLC says one such choice is whether to use “face-mix” or “through-mix” paving stones. “Many homeowners choose face-mix pavers, which are gray bricks coated with colored concrete. However, the problem with these pavers is any chips or similar surface damage will reveal the gray within and disrupt the installation’s color continuity. In contrast, with through-mix pavers, the color is the same throughout, which makes surface damage far less noticeable if it occurs.”
A further consideration for paving stone selection pertains to the environmental impact of your installation. According to Jose Salazar of Paradigm Concrete & Construction, Inc., a great eco-friendly option to consider is permeable pavers. “Due to their permeable character, these paving stones allow rainwater to penetrate the structure and recharge the water table,” he explains. “This also reduces the amount of contaminants such as motor oil that end up in local streambeds. While these contaminants would normally be washed down nearby storm drains, permeable pavers allow them to trickle down to the soil to be broken down by the microorganisms therein.”

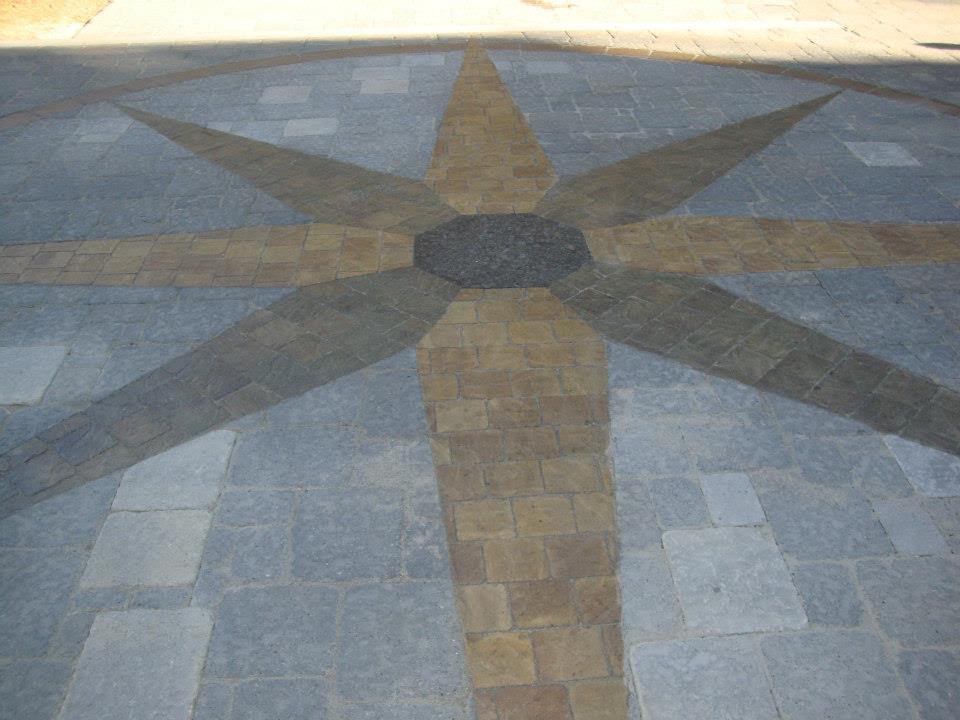
Paving stones come in myriad colors and styles, and can be custom-arranged to create unique, artistic designs. Photo: The Legacy Paver Group (2017)
Phase 2: Installation
A paving stone feature may be attractive to look at, but if it isn’t properly installed, it won’t stand the test of time. That’s why Hayley Johnson of The Legacy Paver Group says it’s important to address the technical aspects of your project. “Thinking about aspects like soil compaction may not be as fun as choosing colors, but it’s crucial to the installation’s long-term integrity. Some of these aspects include determining what type of soil you’re working with, how much base rock is needed to provide an adequate foundation for your installation and whether there are any potential drainage issues to address.”
According to Itamar Morais Jr. of Atlas Pavers Co., another important aspect to consider is the underlayment of the paving stone structure, known as geotextile fabric. “Laid down on the soil following the demolition phase, geotextile fabric helps support the weight of the pavers and keeps them from sinking and moving around,” he explains. “It also serves as a permeable filter that allows water to pass through while preventing the soil beneath from intermixing with the pavers and weakening the installation.” While it’s only considered mandatory for driveway construction, Mr. Morais recommends using geotextile fabric for any type of paving stone feature to ensure long-term stability.

A paving stone feature may be attractive to look at, but if it isn’t properly installed, it won’t stand the test of time. Photo: Atlas Pavers Co. (2017)
Phase 3: Joint Sand and Sealing
Once the paving stones have been laid, the next step is to secure them by filling in the joints. While regular joint sand will work fine in many cases, Roger Van Alst of Black Diamond Paver Stones & Landscape, Inc. says certain situations require a special product. “Polymeric sand is instilled with a glue-like substance that goes in dry but is activated by moisture, which causes it to harden and lock the sand in place. This product is particularly beneficial for features with wide gaps between stones, as well as poolside installations where joint sand could potentially migrate into the pool. Additionally, polymeric sand inhibits weed growth and keeps insects from tunneling up between the pavers.”
The final step is to seal the feature’s surface. “Since paving stones’ colors naturally fade over time, applying a sealer helps preserve their original pigment for a longer duration,” says Mr. Van Alst. “Sealers come in a variety of finish options. If you just want to maintain the original look of your pavers, a matte finish is a good choice, whereas an enhancing finish will enrich the pavers’ colors and give them a glossier sheen.” To keep your pavers looking their best, Mr. Van Alst recommends having them professionally cleaned and re-sealed every three years.
